বাংলায় Git এবং GitHub । পার্ট-২
 Code with Shohag
আজকে আমরা খুব সহজ ভাষায় বুঝবো, Git Install এবং প্রথম Git Repository কিভাবে তৈরি করতে হয়.
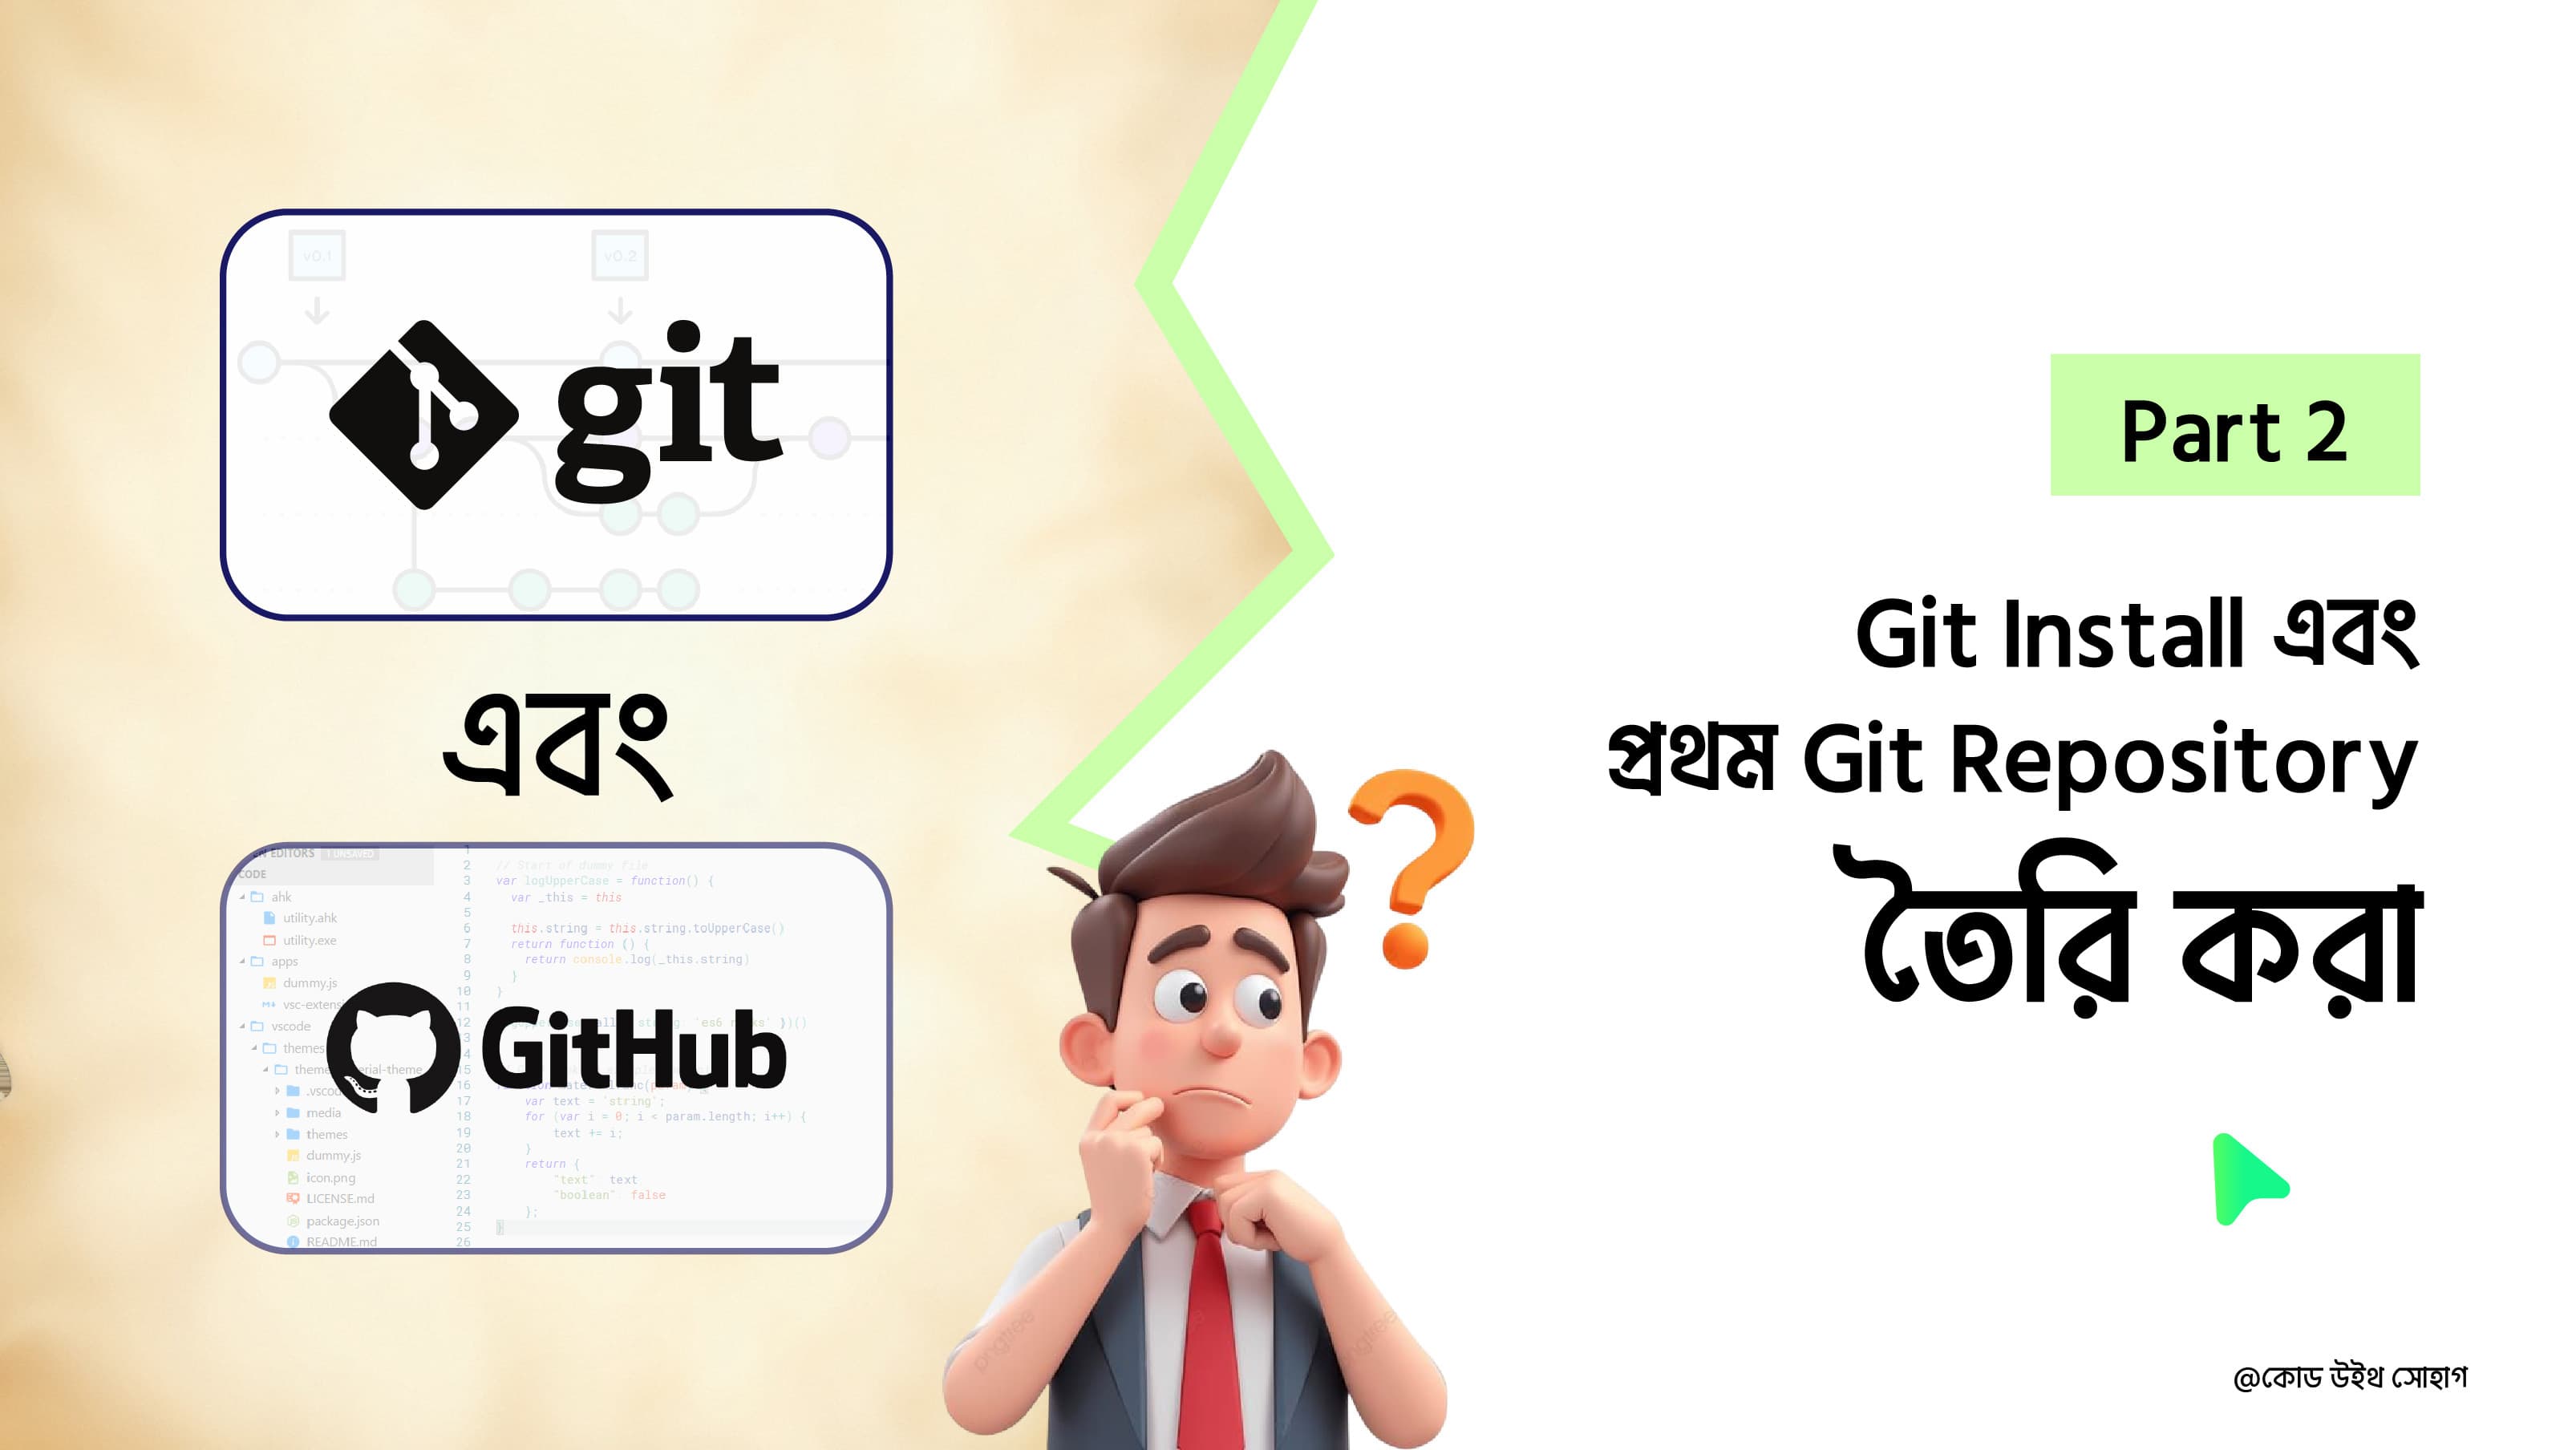
Git Install এবং প্রথম Git Repository তৈরি
Part 1 Git কী, GitHub কী, আর এই দুইটার মধ্যে পার্থক্য কোথায়।
ছোট করে আবার মনে করি:
Git হলো code এর history রাখার system।
GitHub হলো সেই code online এ রাখার platform।আজকের part এ আমরা দেখবো:
Git install করতে হয়
Git install হয়েছে কিনা কীভাবে check করতে Git repository কীভাবে
তৈরি করতে হয়
Git এর basic command কীভাবে কাজ করেমানে আজকে আমরা শুধু theory না, একটু practical কাজও করবো।
Git Install করার আগে কী জানা দরকার?
Git install থাকতে হবে।
তুমি Windows, Mac বা Linux যেটাই ব্যবহার করো না কেন, Git install যায়।
Git install করার পর তুমি terminal, command prompt বা Git Bash থেকে Git command ব্যবহার করতে পারবে।
Beginner দের জন্য Windows এ Git Bash ব্যবহার করা সবচেয়ে সহজ।
Windows এ Git Install করার নিয়ম
Windows user হলে প্রথমে browser এ গিয়ে search করো:
git download
তারপর Git এর official website থেকে Git download করো।
Download করার পর installer file open করো।
Install করার সময় অনেক option আসবে। Beginner হলে বেশিরভাগ option default রেখেই Next চাপতে পারো।
Default option দিয়েই শুরু করা যায়, পৃথিবী ভেঙে পড়বে না।
Install শেষ হলে Start Menu থেকে Git Bash open করো।
Mac এ Git Install করার নিয়ম
Mac এ অনেক সময় Git আগে থেকেই install থাকে।
Check করার জন্য Terminal open করে লিখো:
git --versionGit install আছে।
যদি Git install না থাকে, তাহলে Mac তোমাকে install করার option দেখাতে পারে।
Homebrew ব্যবহার করেও Git install করা যায়:
brew install gitLinux এ Git Install করার নিয়ম
Linux user হলে terminal থেকে সহজেই Git install করা যায়।
Ubuntu বা Debian based system হলে লিখো:
sudo apt update
sudo apt install git
Install:
git --versionGit Install হয়েছে কিনা কীভাবে বুঝবো?
Git install করার পর terminal বা Git Bash open করে লিখো:
git --versionযদি output এ এমন কিছু দেখায়:
git version 2.45.0তাহলে Git ঠিকভাবে install হয়েছে।
Version number তোমার computer এ আলাদা হতে পারে। সেটা normal
Git ব্যবহার করার আগে নিজের নাম ও email set করা
Git install করার পর প্রথম কাজ হলো নিজের name এবং email set করা।
Git যখন তোমার change history save করবে, তখন কে change করেছে সেটা জানার জন্য name এবং email লাগে।
Name set করার command:
git config --global user.name "Your Name"Email set করার command:
git config --global user.email "your-email@example.com"Example:
git config --global user.name "Rahim Ahmed"
git config --global user.email "rahim@example.com"
এখানে নিজের নাম এবং email ব্যবহার করবে।
Check করারজন্য লিখতে পারো:
git config --global user.name
git config --global user.email
Repository আবার কী?
Part 1 এ আমরা জেনেছিলাম repository বা repo হলো project রাখার জায়গা।
একটা project এর code, file, folder এবং Git history মিলিয়ে একটা repository হয়।
সহজভাবে:
একটা project = একটা repository
আজকে আমরা নিজের computer এ একটা local repository তৈরি করবো।
প্রথম Project Folder তৈরি করা
প্রথমে computer এ একটা folder তৈরি করো।
Folder এর নাম হতে পারে:
my-first-git-projectGit Bash বা terminal দিয়ে সেই folder এ যাও।
যেমন:
cd Desktop
mkdir my-first-git-project
cd my-first-git-project
এখানে কী হলো?
cd DesktopDesktop এ গেলো।
mkdir my-first-git-projectনতুন folder তৈরি হলো।
cd my-first-git-projectসেই folder এর ভিতরে ঢুকলো।
Git Repository তৈরি করা
এখন এই project folder এ Git চালু করতে হবে।
তার জন্য command:
git initএই command দেওয়ার পর folder টা Git repository হয়ে যাবে।
মানে এখন Git এই folder এর পরিবর্তন track করতে পারবে।
Output: এ এমন কিছু দেখাতে
Initialized empty Git repositoryঅভিনন্দন, তোমার প্রথম local Git repository তৈরি হয়ে গেছে। মানবসভ্যতা সামান্য এগোল।
git status command
Repository তৈরি করার পর project এর current অবস্থা দেখতে command:
git statusএই command দেখায়:
কোন file new
কোন file modified
কোন file staging area তে আছে
কোন change commit করার জন্য ready
Beginner হিসেবে git status খুব important command।
কোনো confusion হলে প্রথমে git status চালাও।
প্রথম File তৈরি করা
এখন project folder এর ভিতরে একটা file তৈরি করি।
File name:
index.htmlতার ভিতরে লিখি:
<h1>Hello Git</h1>
<p>This is my first Git project.</p>
File save করার পর Git Bash এ লিখো:
git statusতুমি দেখতে পাবে Git বলছে একটা new file আছে।
মানে Git বুঝতে পারছে project এ নতুন file add হয়েছে।
Staging Area কী?
Commit করার আগে file কে staging area তে নিতে হয়।
Staging area: হলো এমন একটা জায়গা
“এই changes গুলো আমি save করতে চাই।”
সব file staging area তে নিতে command:
git add .এখানে dot মানে current folder এর সব change।
যদি শুধু একটা specific file add করতে চাও:
git add index.htmlএরপর আবার check করো:
git statusএখন Git দেখাবে file commit করার জন্য ready।
Commit?
Commit হলো Git history এর একটা saved point।
সহজভাবে বললে:
Commit = project এর একটা snapshot
যখন তুমি commit করো, Git তখন project এর current অবস্থাটা history হিসেবে save করে রাখে।
Commit command:
git commit -m "first commit"এখানে "first commit"হলো commit message।
Commit message দিয়ে বোঝানো হয় তুমি কী change করেছো।
ভালো Commit Message কেমন হওয়া উচিত?
Commit message ছোট, clear এবং meaningful হওয়া ভালো।
Example:
git commit -m "add homepage"git commit -m "fix navbar design"git commit -m "update contact form"Example:
git commit -m "change"git commit -m "update"git commit -m "asdfgh"Git history, তাই message একটু পরিষ্কার রাখা ভালো।
Git Workflow সহজভাবে
এখন পর্যন্ত আমরা যে workflow দেখলাম:
১. Project folder তৈরি
২. Git চালু করা
৩ . নেওয়া
৫. Commit করা
Command আকারে:
git init
git status
git add .
git commit -m "first commit"
এই flow Git শেখার foundation।
File Update করলে কী হবে?
এখন index.htmlfile এ আরেকটা line add করি:
<h1>Hello Git</h1>
<p>This is my first Git project.</p>
<p>I am learning Git step by step.</p>
Save করার পর লিখো:
git statusGit দেখাবে file modified হয়েছে।
মানে Git বুঝেছে আগের commit এর পর file এ change হয়েছে।
এখন আবার change save করতে হবে:
git add .
git commit -m "update homepage content"
এখন নতুন আরেকটা commit তৈরি হলো।
Commit History দেখা
Project এ কী কী commit হয়েছে সেটা দেখতে command:
git logএখানে commit id, author, date এবং commit message দেখা যাবে।
Output:
qআর short version দেখতে চাইলে:
git log --onelineএটা beginner দের জন্য অনেক clean।
git add এবং git commit এর পার্থক্য
অনেকে শুরুতে git addআর git commitনিয়ে confuse হয়।
সহজভাবে মনে রাখো:
git addchange গুলোকে ready করে। git commitready করা change গুলো history তে save করে।
একটা example দিয়ে ভাবো:
তুমি ছবি তুলতে যাচ্ছো।
git addমানে camera focus করা। git commitমানে ছবি তুলে save করা।
Focus করলেই ছবি save হয় না।
আবার ছবি save করতে হলে আগে focus করা দরকার।
Git-ও এরকমই।
.git Folder কী?
যখন তুমি git initcommand দাও, তখন project folder এর ভিতরে একটা hidden .gitfolder তৈরি হয়।
এই .gitfolder এর ভিতরেই Git project এর history এবং information রাখে।
সাধারণত এই folder manually edit করা উচিত না।
কারণ ভুল করে কিছু delete করলে repository নষ্ট হতে পারে।
তাই .gitfolder কে শান্তিতে থাকতে দাও। সে নিজের কাজ জানে।
Beginner দের Common Mistake
১. Git install না করেই command চালানো
যদি লিখো:
git --versionআর error আসে, তাহলে Git install নেই বা terminal Git খুঁজে পাচ্ছে না।
২. Project folder এর বাইরে git init করা
সবসময় যেই folder কে repository বানাতে চাও, সেই folder এর ভিতরে গিয়ে git initচালাবে।
৩. git add না করে commit করা
Commit করার আগে change staging area তে নিতে হয়।
তাই আগে:
git add .তারপর:
git commit -m "message"৪. Meaningless commit message দেওয়া
commit message হয়েছিল।
আজকের Important Command গুলো
git --versionGit install হয়েছে কিনা check করার জন্য।
git config --global user.name "Your Name"Git এ নিজের name set করার জন্য।
git config --global user.email "your-email@example.com"Git এ নিজের email set করার জন্য।
mkdir my-first-git-projectনতুন folder তৈরি করার জন্য।
cd my-first-git-projectFolder এর ভিতরে যাওয়ার জন্য।
git initনতুন Git repository তৈরি করার জন্য।
git statusRepository এর current অবস্থা দেখার জন্য।
git add .সব change staging area তে নেওয়ার জন্য।
git commit -m "first commit"Change history হিসেবে save করার জন্য।
git logCommit history দেখার জন্য।
git log --onelineCommit history short আকারে দেখার জন্য।
ছোট করে মনে রাখার নিয়ম
Git: শেখার
Edit
Add
Commit
মানে:
প্রথমে file edit করো।
তারপর git add .দাও।
শেষে git commit -m "message"দাও।
আরেকভাবে:
Change করো
Ready করো
Save করো
শেষ কথা
Git install করতে হয় এবং নিজের computer এ প্রথম Git repository তৈরি করতে হয়।
এখন তুমি জানো:
Git install check করতে হয় কীভাবে
Git এ name ও email set করতে হয় কীভাবে
নতুন repository
File add ও commit করতে হয় কীভাবে Commit
এই পোস্টটি লিখেছেন
আমাদের CWS কমিউনিটিতে যোগ দিতে ক্লিক করুন
পোস্টি ভালোলাগলে অবশ্যই বন্ধুদের মাঝে শেয়ার করবে,আর কোনো মন্তব্য থাকলে কমেন্ট করতে পারেন ধন্যবাদ .
মন্তব্যসমূহ (0)
মন্তব্য করতে লগইন করুন
Login to Comment